Hey lovelies!
I hope you’re all doing well and not too bored in quarantine!
Let me tell you that quarantine has got me doing crazy things and yesterday I decided to laminate my eyebrows at home!
This brow treatment is very trendy at the moment, and it’s basically a perm for your eyebrows, making them look fuller and giving that fluffy brow effect. obviously it is better to get this treatment done by a professional, but seeing as the salons are closed in lockdown, I decided to DIY it!
I used a LASH TINTING kit, and before purchasing, I did a bit of research and found out that the product ingredients and different solutions used in lash tints are the same as those used for brow laminations.
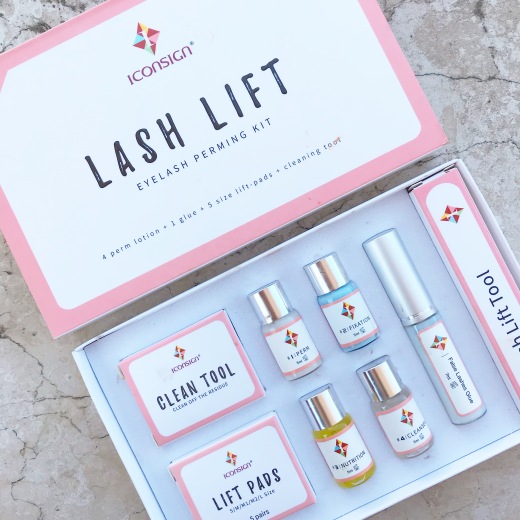
The kit is available on Amazon, and is pretty affordable! You can find it HERE if you are interested! It comes with lift pads, a cleaning tool, lash glue and a lash lifter tool. It also includes a perming solution, a fixation solution, a cleansing liquid and an oil like solution which can be used to hydrate the brows after treatment! So it’s pretty good value for money if you ask me, considering the fact that there’s enough for multiple applications.
On the back of the box there is a step by step guide on how to use the kit and it’s very straightforward and easy to use.
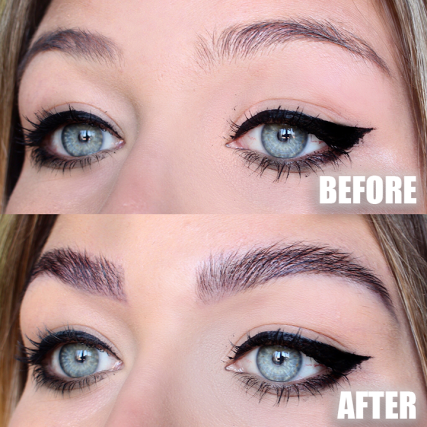
I am really impressed with the final result. My eyebrows definitely look fuller and fluffier, and after I brush my brows into place, they stay in place all day!
I have a full video on my channel with a step by step guide on how to use this kit, and you can also see the amazing results with a full before and after! If you’re interested you can find the video HERE.
I would definitely recommend this kit if you’re interested in brow lamination and don’t want to spend a ton of money getting it done.
Have you guys ever tried brow lamination, at home or in a salon? Let me know your thoughts on the treatment!
Thanks for reading, and I’ll see you next time! HAPPY EASTER ❤